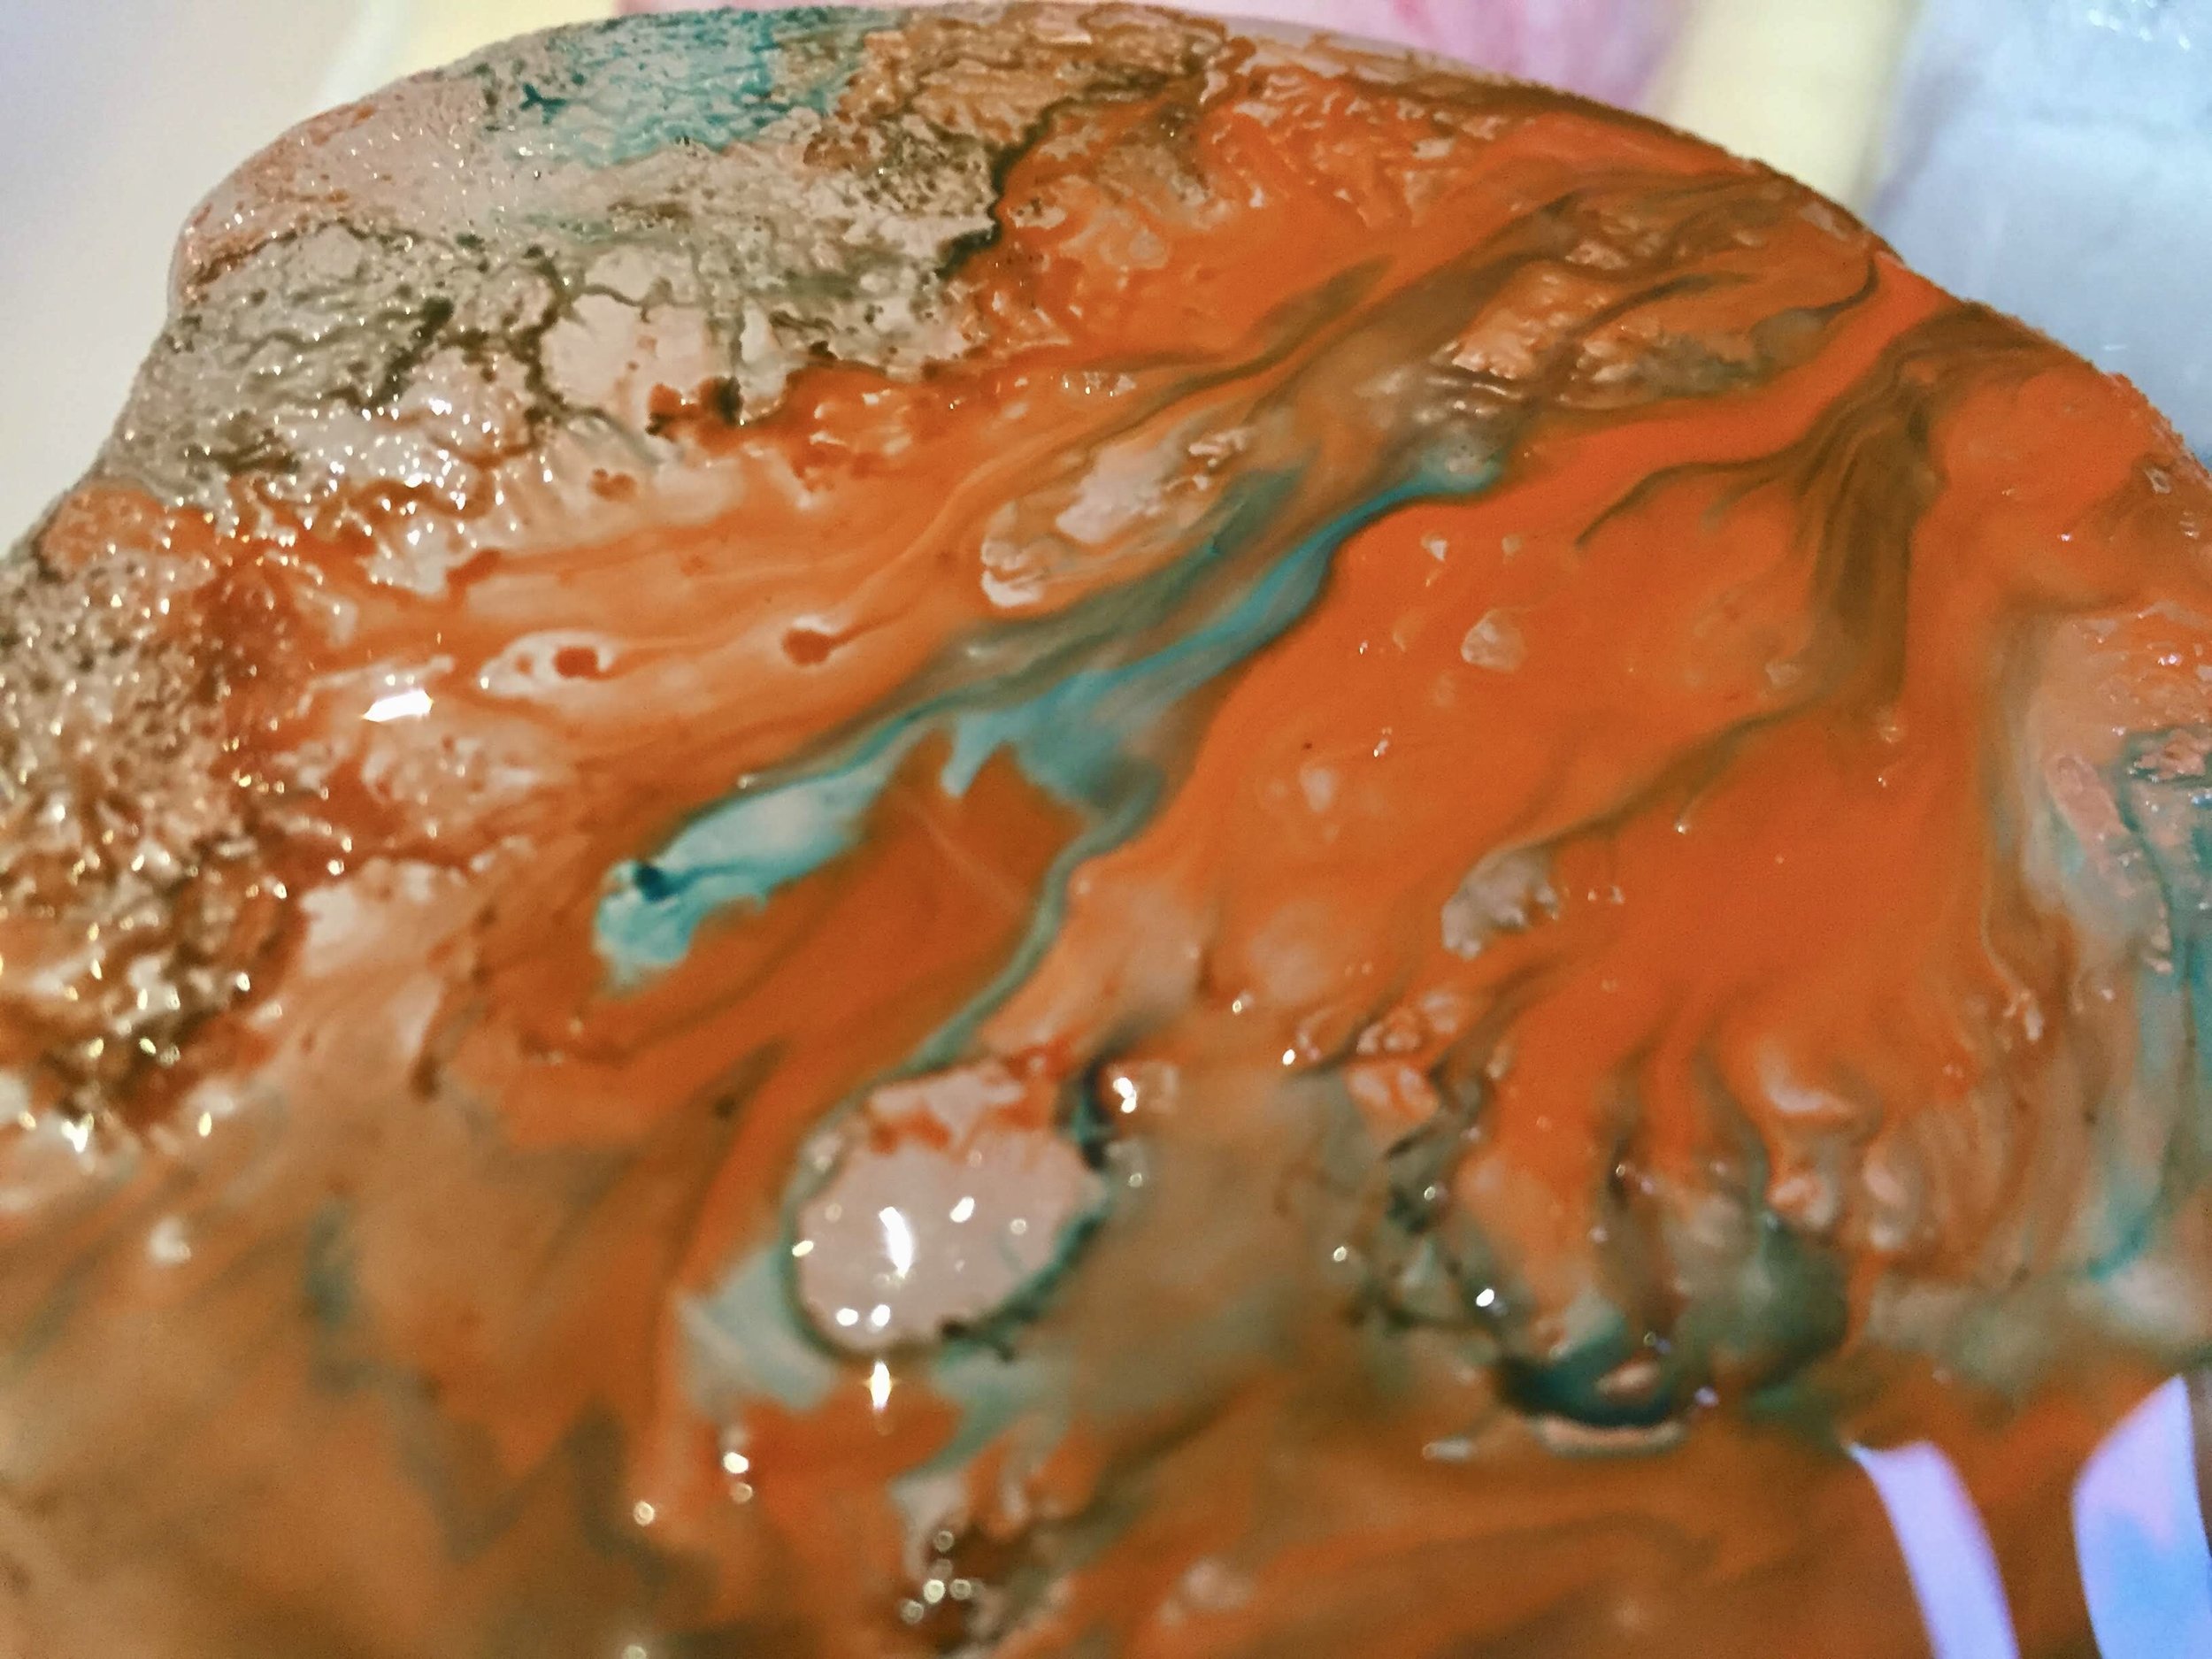
Painting on ice
It’s now February and we’ve not had many icy days this winter where we live. My boys really enjoy going outside in the garden on a frosty morning, checking for ice, and between our mud kitchen area (little more than a few logs and a bucketful of kitchen items!) and a sand/water table, there has always been lots of frozen water in pots, pans and buckets and sheets of ice that had frozen around little figures to play with. The boys are older now, so there aren’t so many toys in the garden, so while we wait for another icy morning, I put together this little activity involving painting on ice to have fun with instead! Not only is this a really fun and sensory activity to do but, for younger children, it’s also great for exploring colour mixing and talking about the freezing and melting point of water.
What you will need:
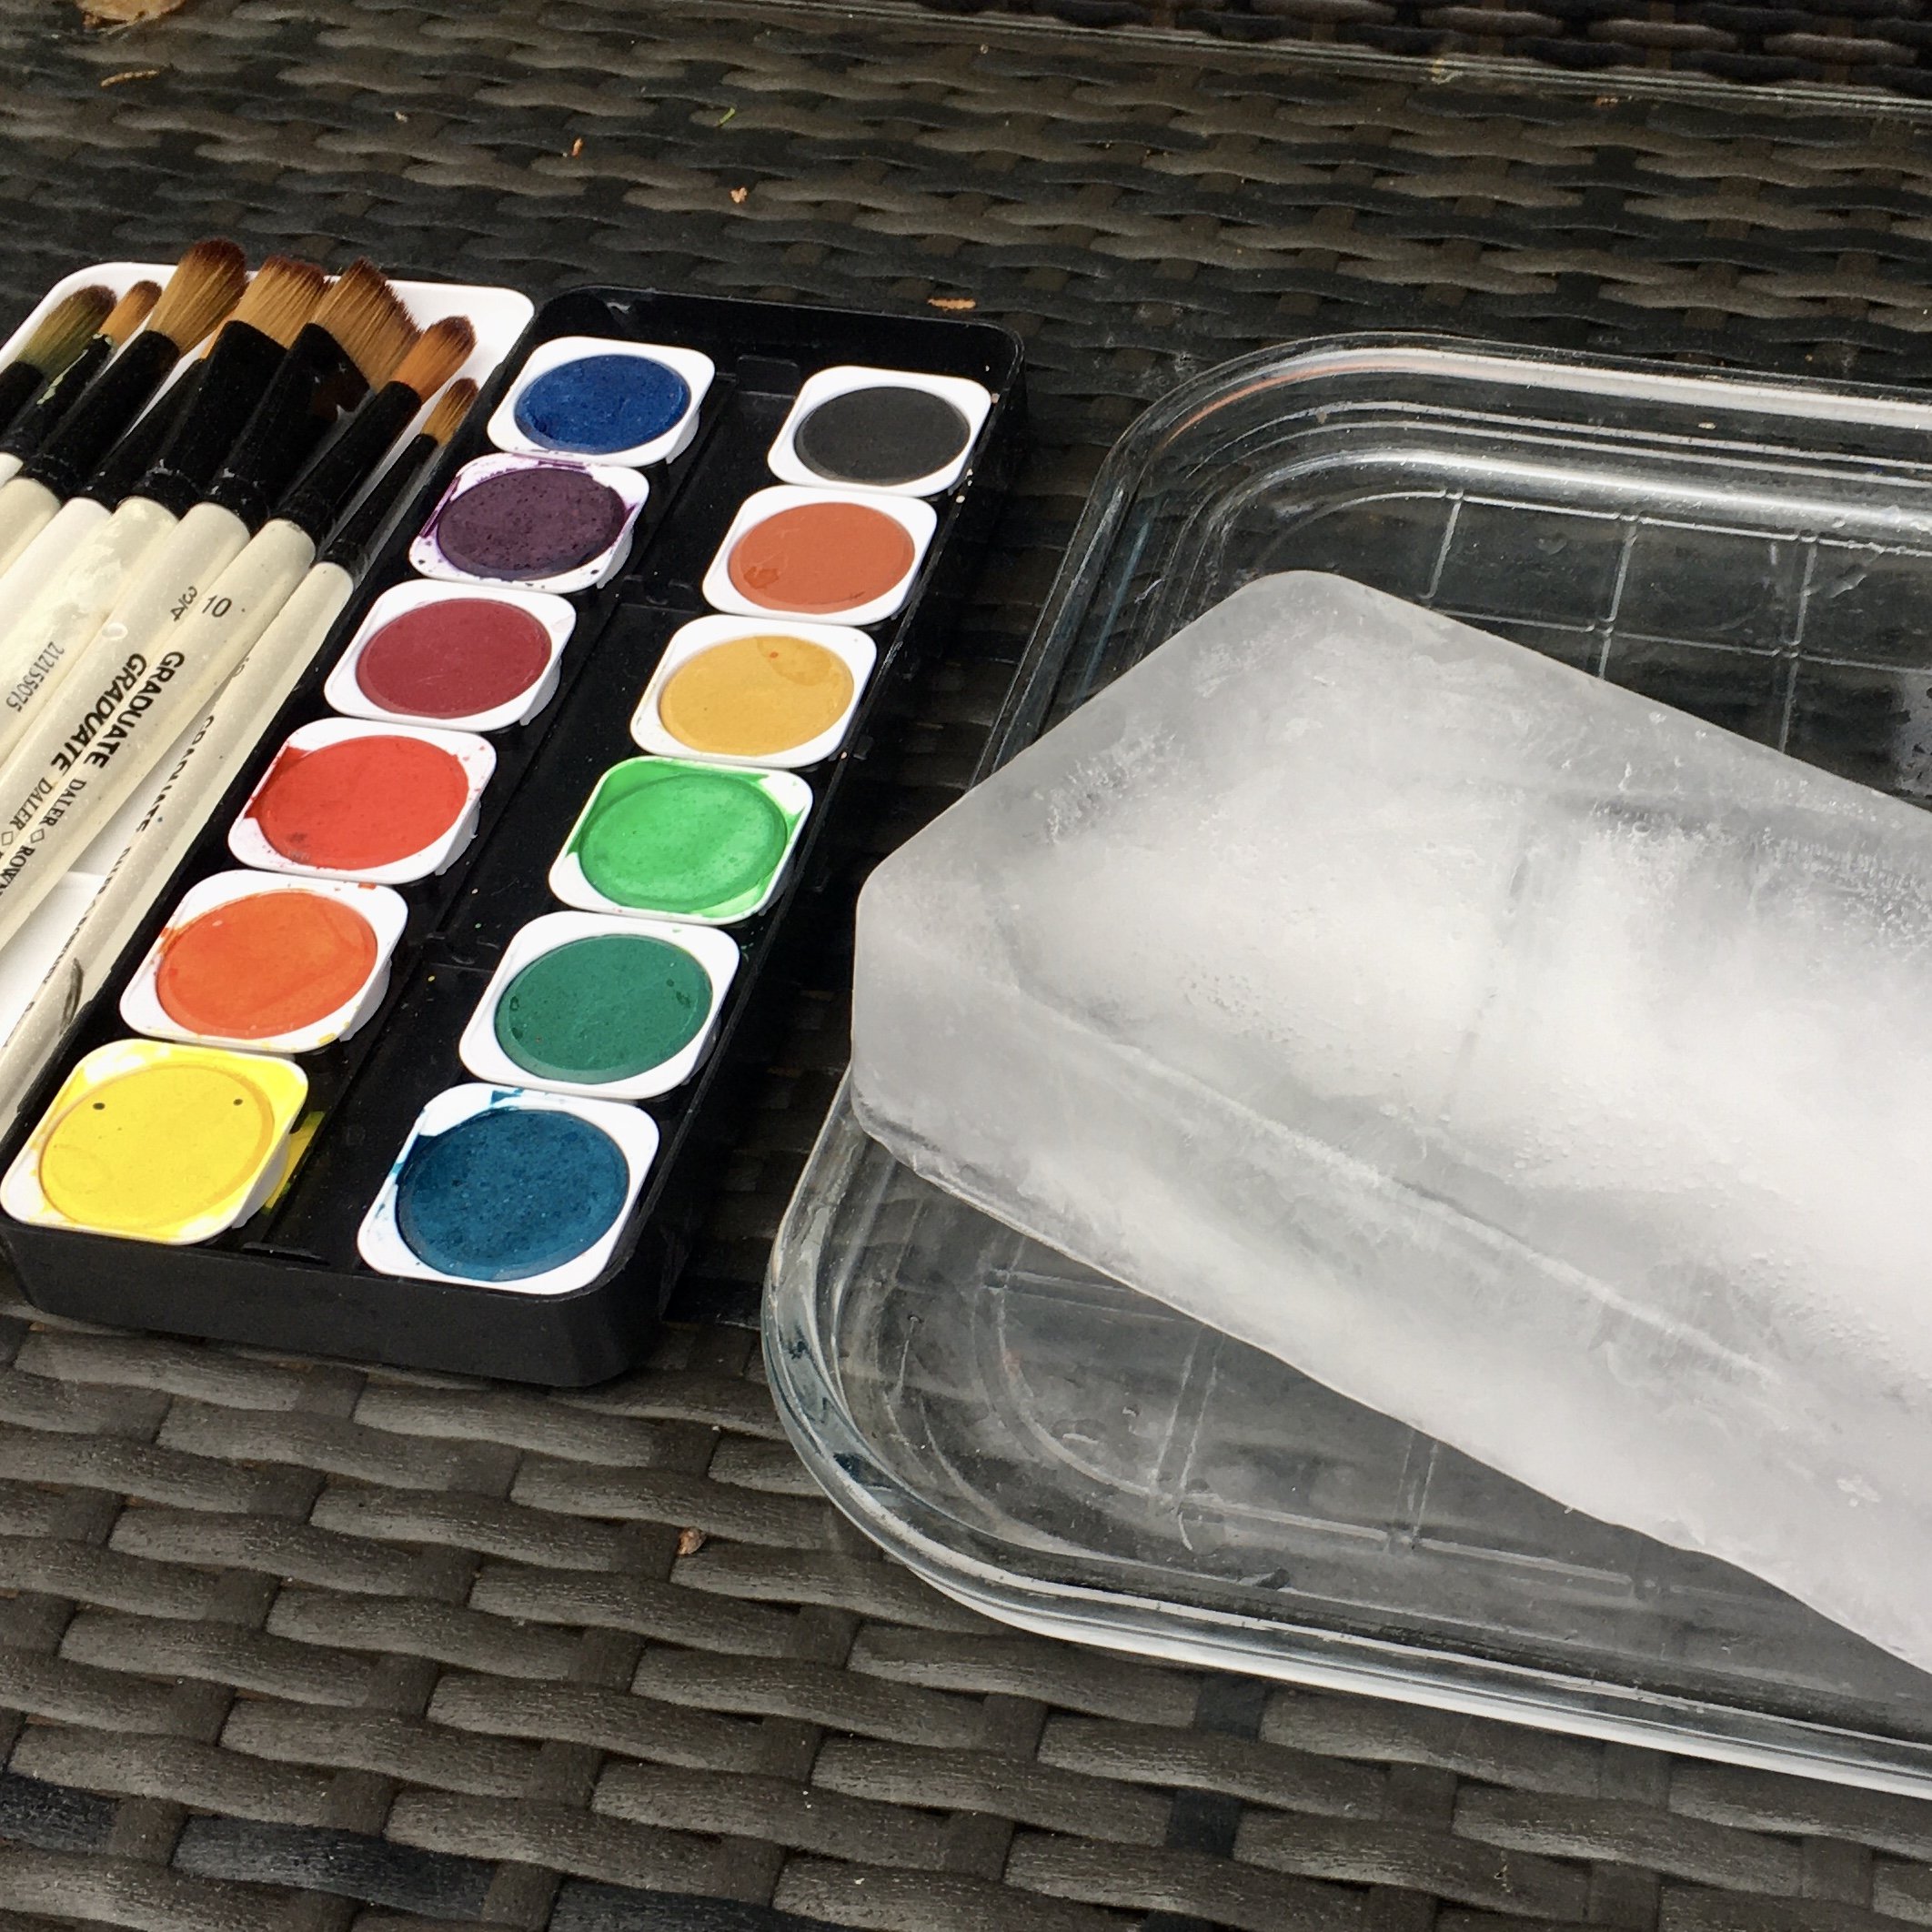
A container to freeze some water
Watercolour paints
Brushes
A tray
Salt (optional)
What you need to do:
Fill a container with water and place on a level surface in your freezer and leave overnight until completely frozen. I used a shallow container but we have previously used different sized blocks as well as ice cubes, which have been used to build with and in small world play before painting.
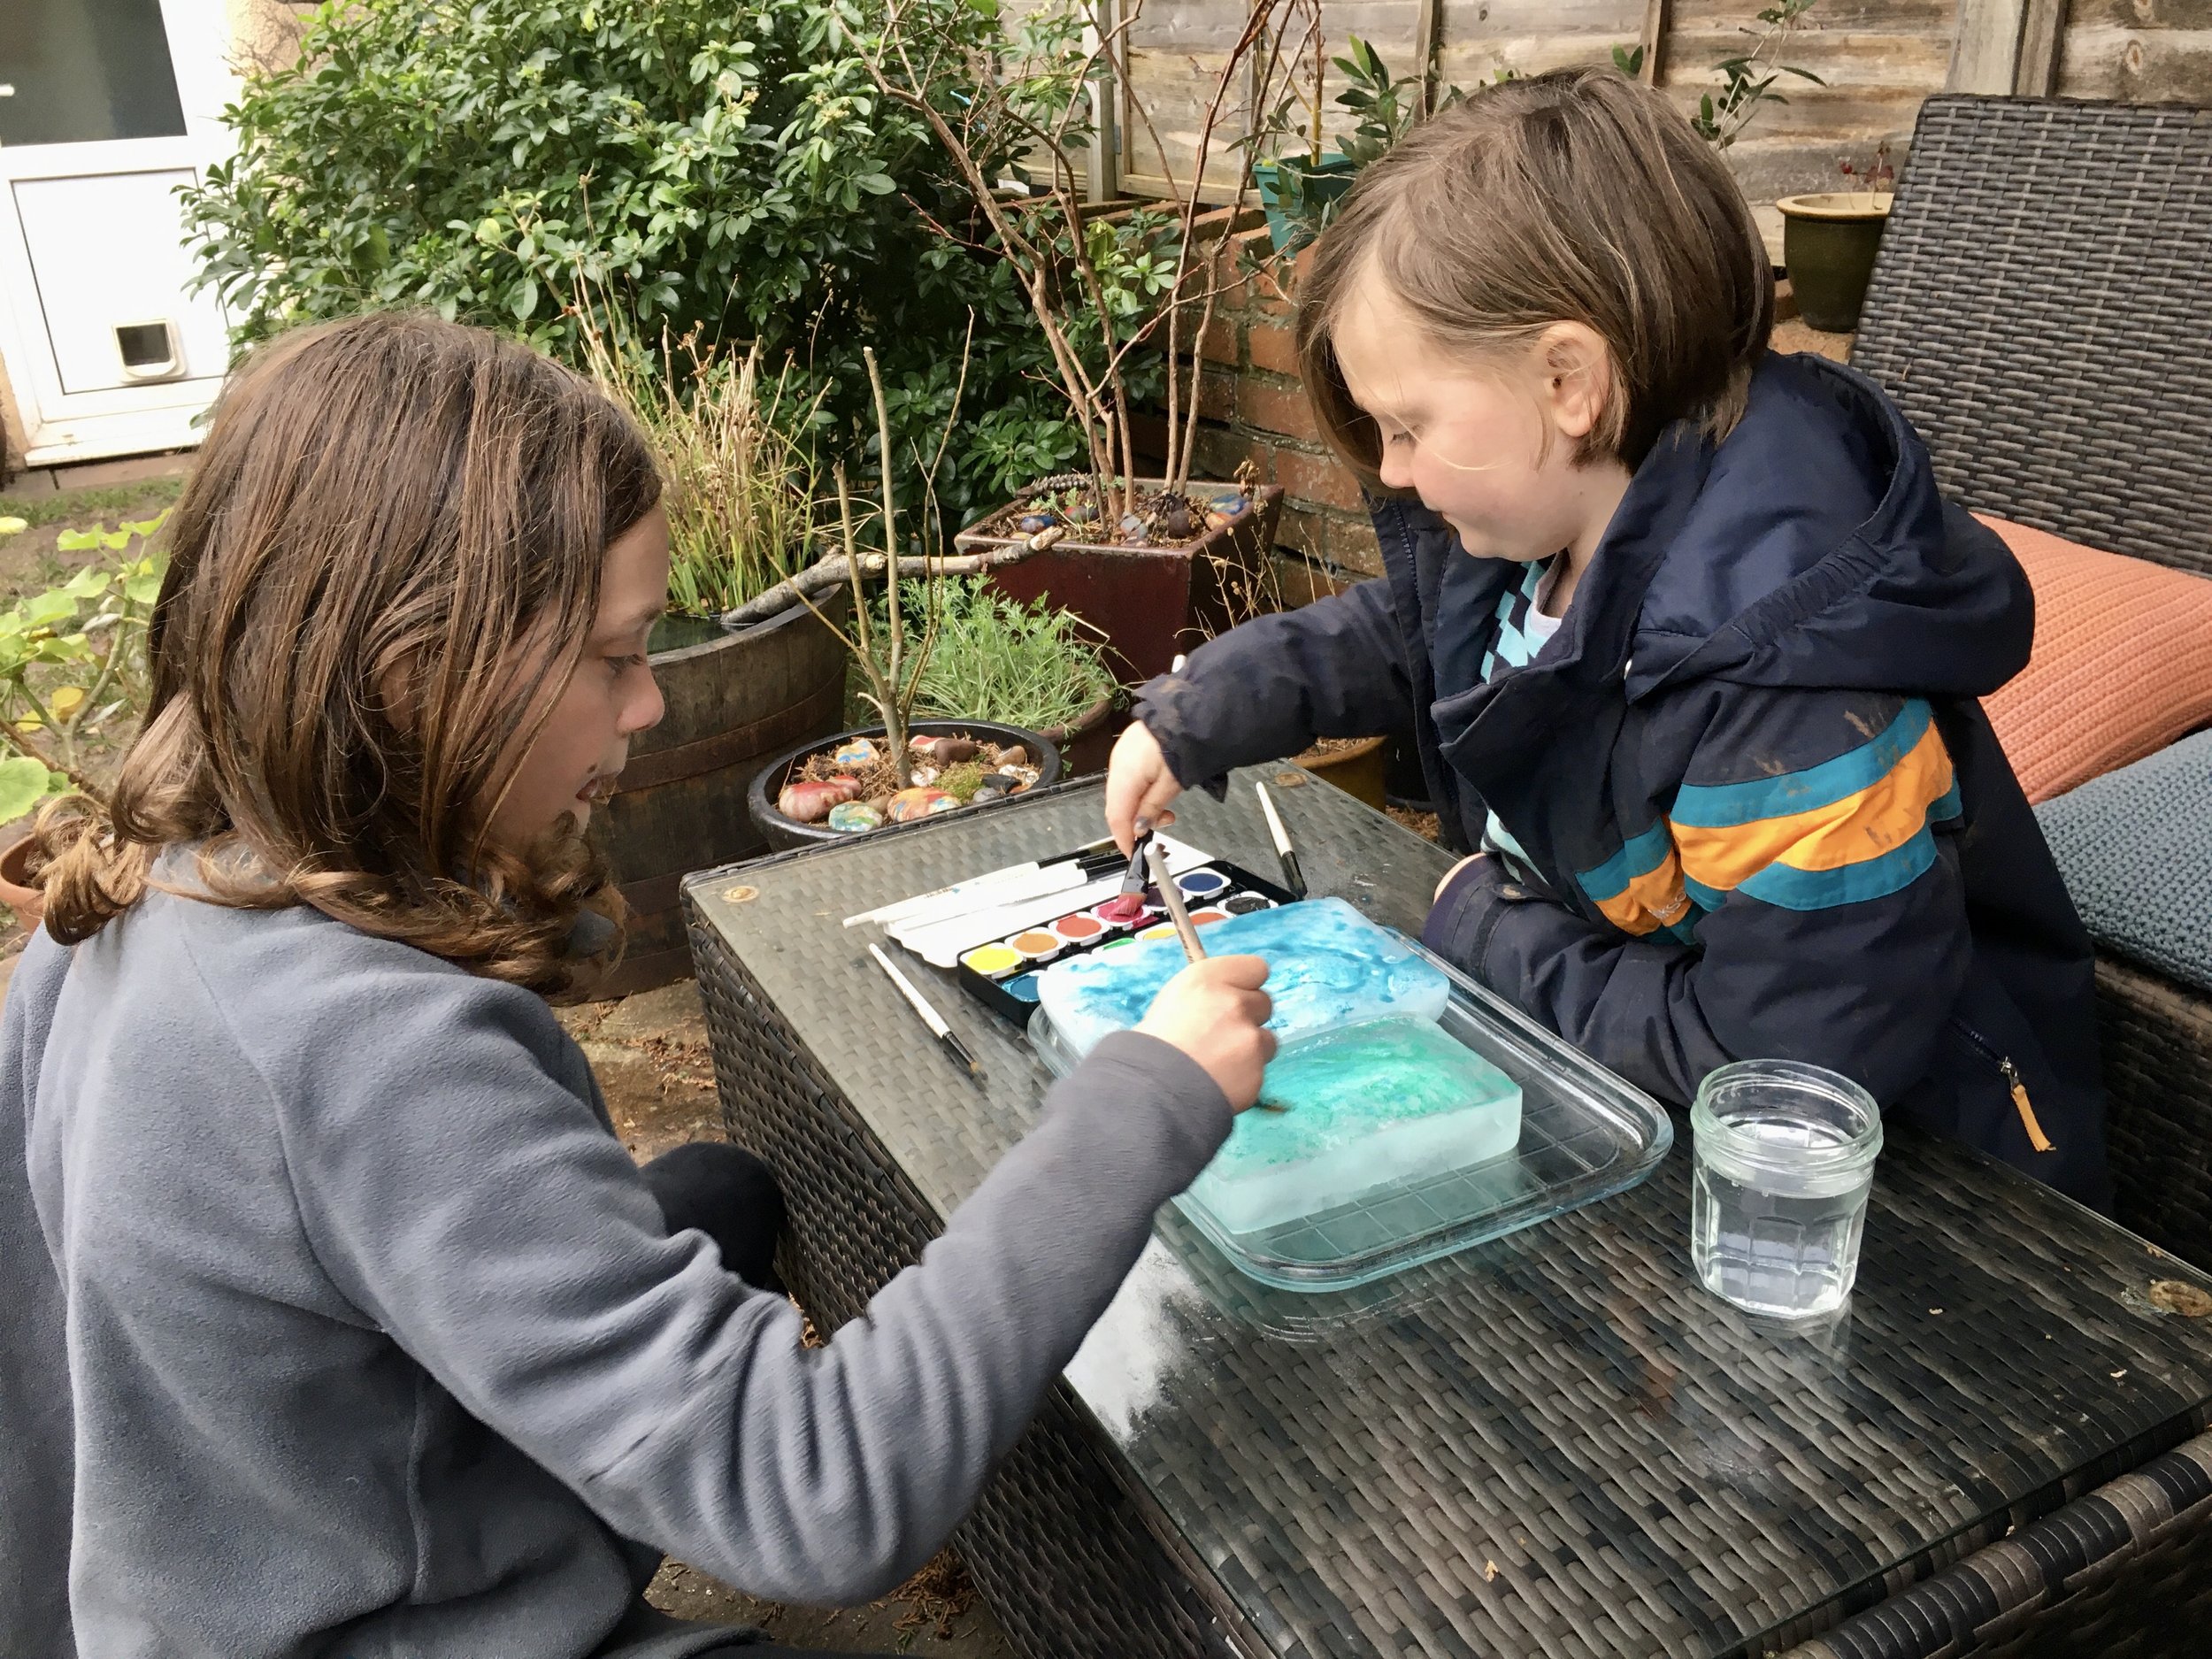
The set up for painting is really simple - place the ice block(s) on a tray which will catch any paint water as the ice block melts, alongside some watercolour paints and brushes and then let your children create!
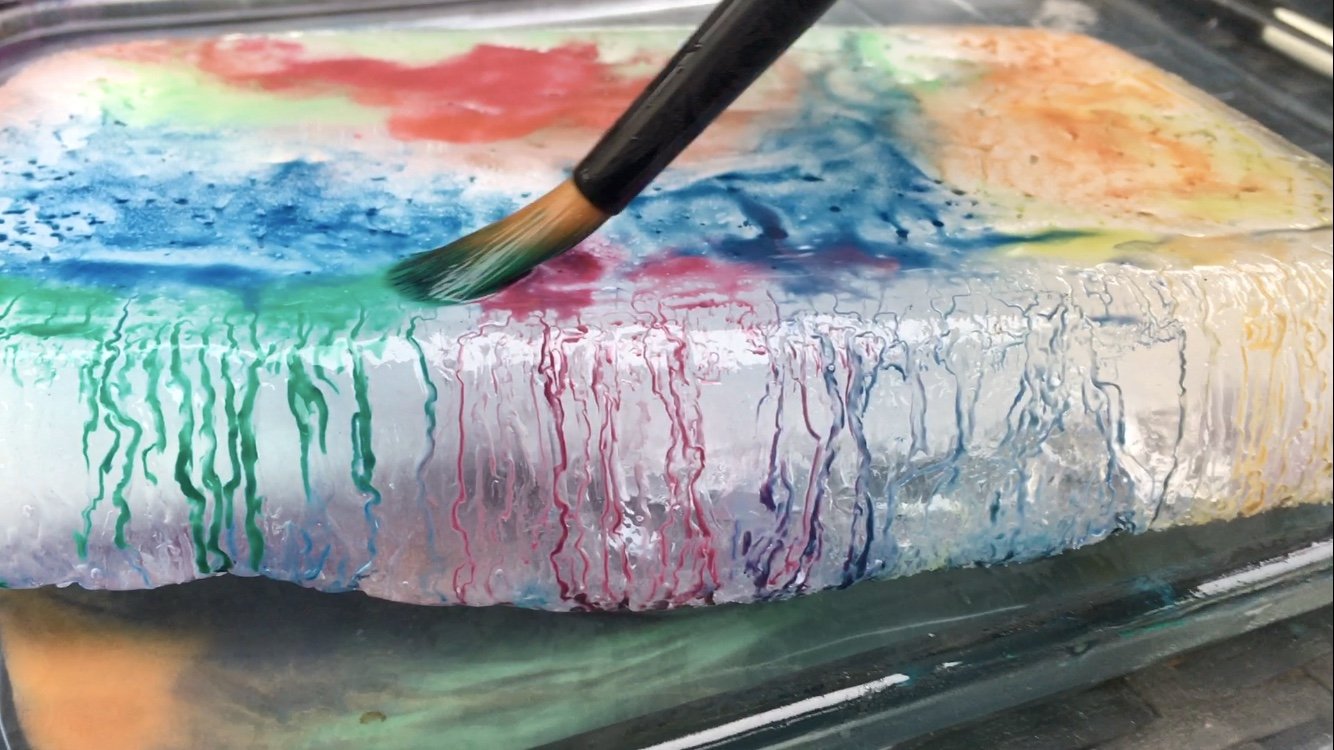
It’s really fun to watch how the colours disperse when they touch the ice and to see how they blend and mingle with colours nearby.
As the ice melts, the paint slides off and you can add more paint. It’s like an evolving painting and if you want a completely fresh canvas, you can simply rinse the paint off and start afresh.
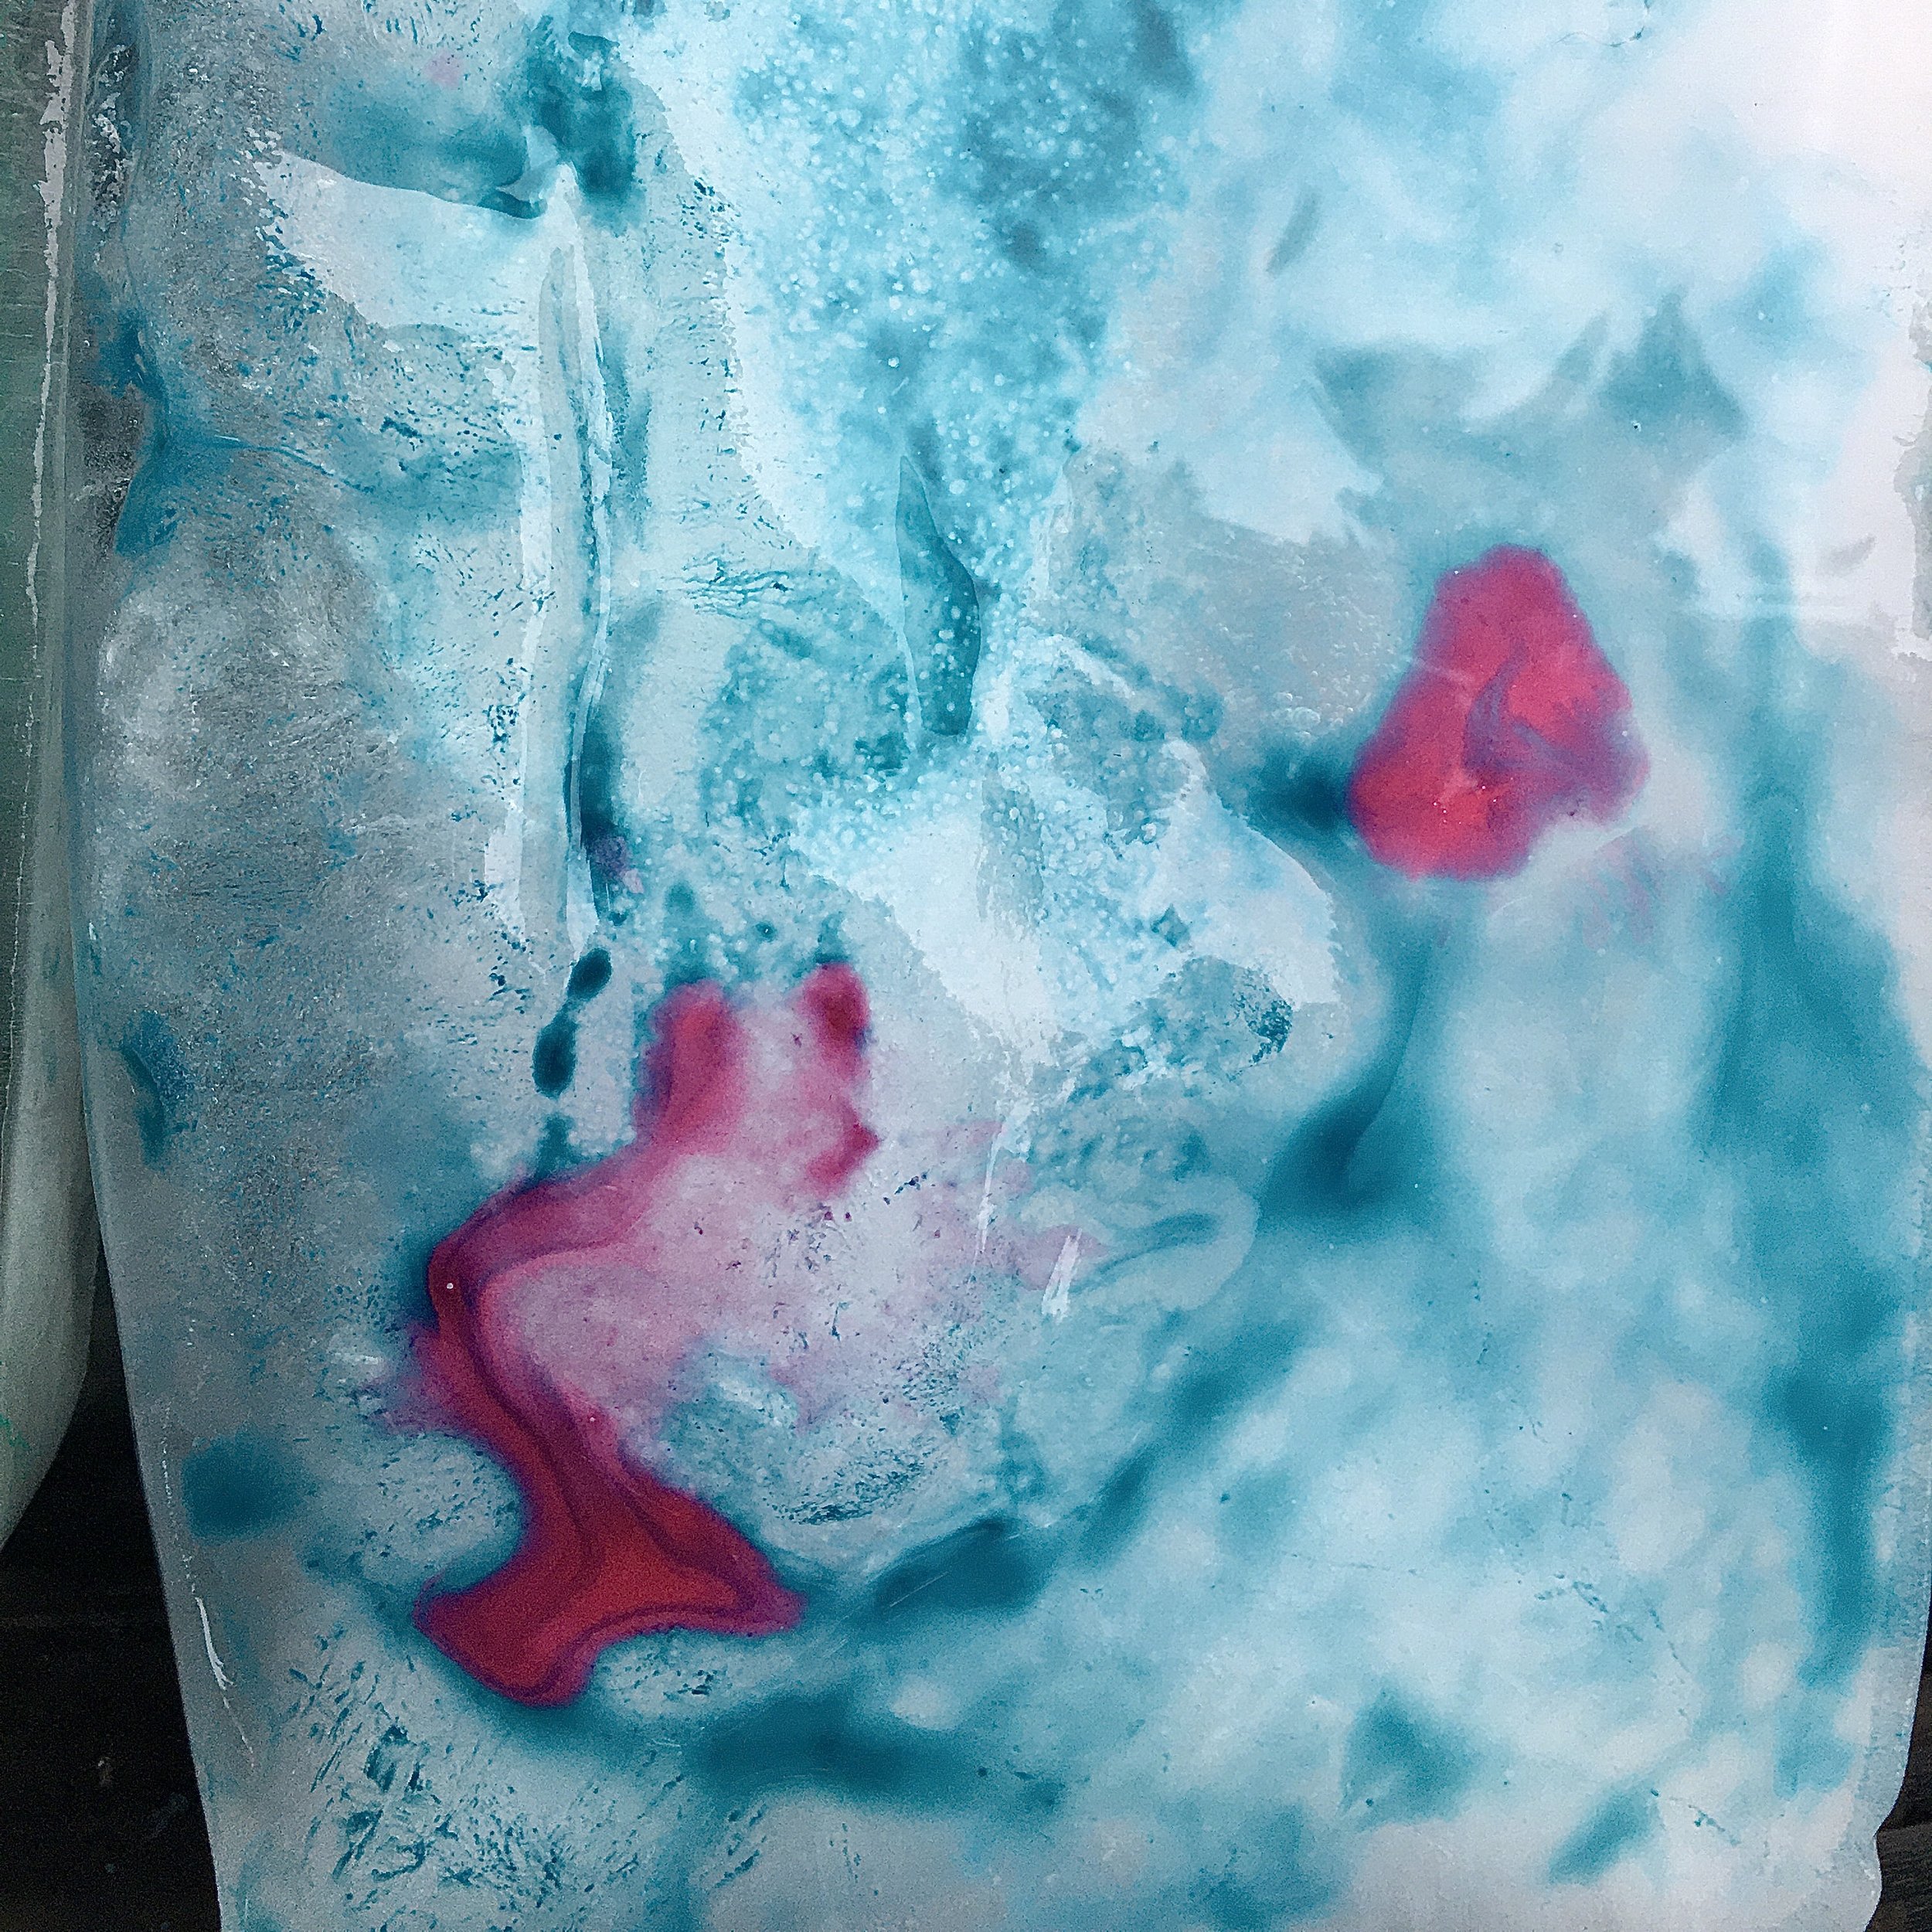
If you want to, you can also sprinkle some salt on the ice block. The ice melts faster where the salt is added as the salt lowers the freezing point of the surface water. This makes the ice block much more textured and creates crevices and little craters where the paint pools.
Author: Denise Hope, home educating mum of two boys

