Growing tomatoes in a grow bag
One of my favourite plants that I like to grow is cherry tomatoes. They are so easy to grow, ripen quicker than normal tomatoes, taste amazingly sweet and are perfect for picking and eating straight off the plant! Despite having limited space in my garden, I find that these don’t actually take up much room as I always grow mine in a grow bag along the side return of my house. Although this area doesn’t get huge amounts of sun, I find it seems to have its own micro climate, probably due to the sun reflecting off the wall back onto the plants, and tomatoes grow well here. This year, I’m growing the organic Zuckertraube (Sugar Grape) cherry tomatoes that were in last year’s March Mud & Bloom box. (It’s worth noting that seeds can be kept for up to two years if stored in a cool, dry and dark place.)
Tomato seedlings are really easy to grow but how do you look after them once they’re ready to go outdoors? In this post I’ll show you how I plant my tomato plants outdoors!
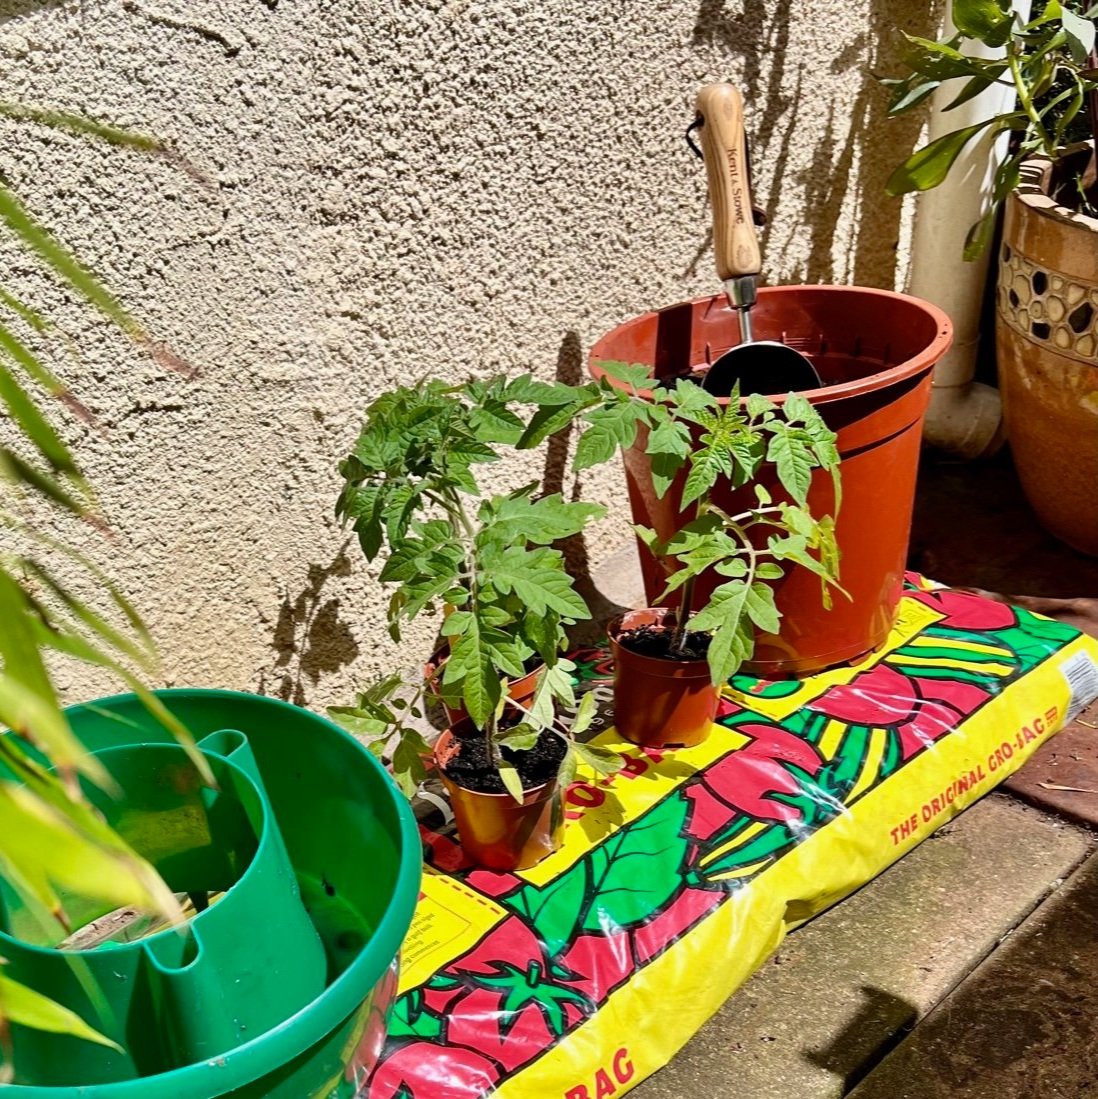
What you will need:
3 x tomato plants ready to plant outside
Grow bag
Compost
3 x plant halos/growing rings (or you can use plastic plant pots with the bottoms cut off)
Bamboo canes
Twine
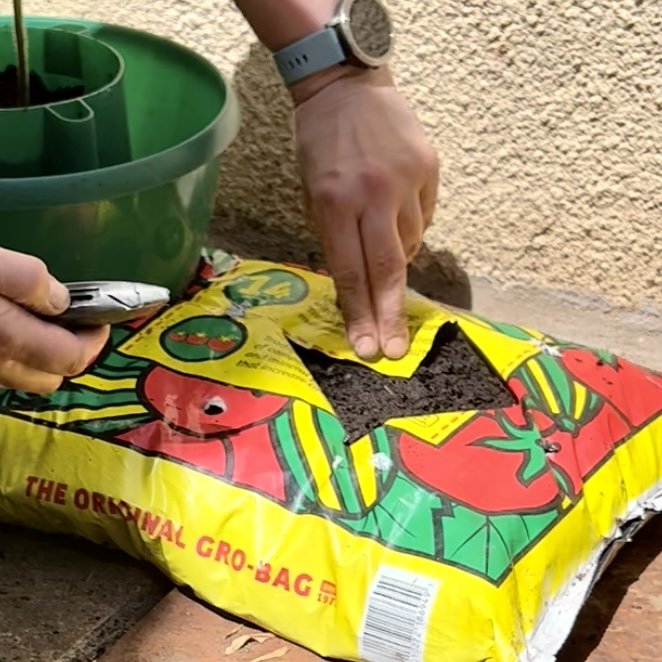
The first thing you will need to do is give your grow bag a good jiggle! Roll it about a bit to break up the compost inside it as it’s likely to be quite compressed. Then turn it over and poke a few drainage holes in the bag.
There are usually 3 areas marked on grow bags showing where to cut out your holes for your plants. I find it easiest to use a knife to cut a cross and then fold the flaps under.
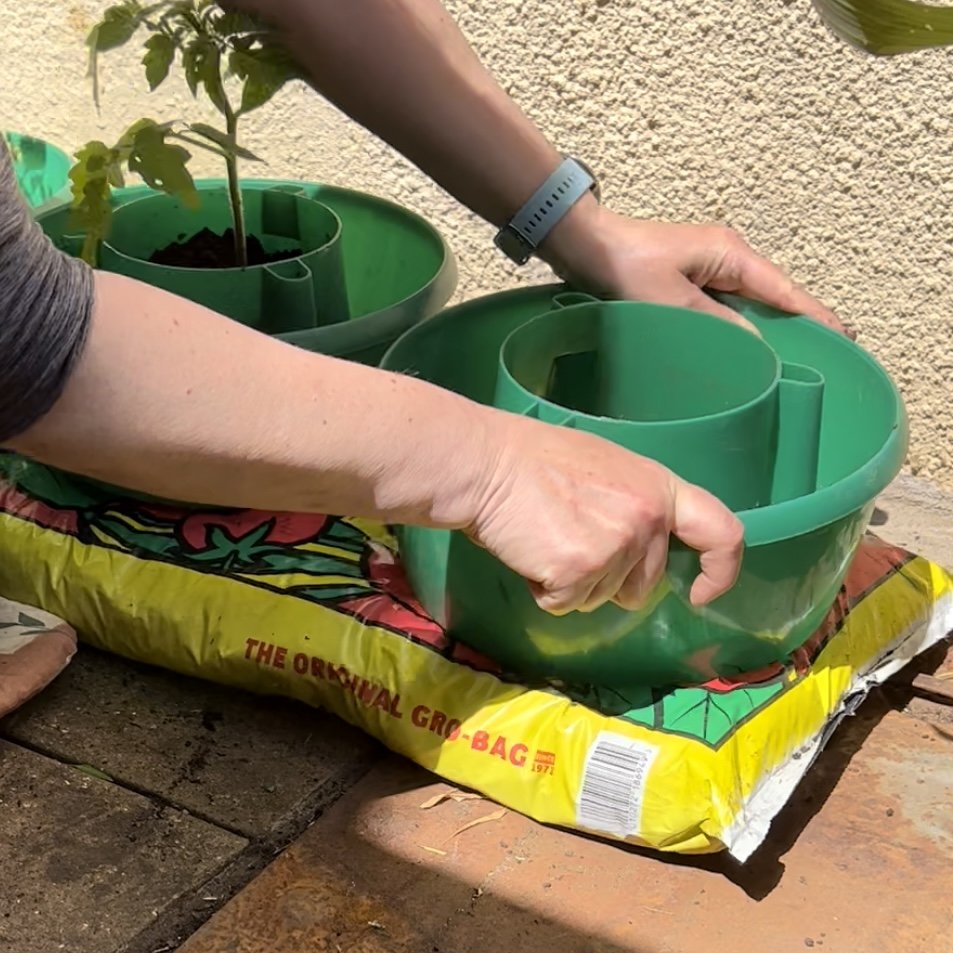
If you are using plant halos, put these in position and then push the spikes into the grow bag so they pierce through the bag. The great thing about plant halos is that they enable you to supply your plants with a greater amount of compost which means healthier root systems and because of this, I can put three tomato plants in my grow bag, whereas it’s usually recommended to only put two in.
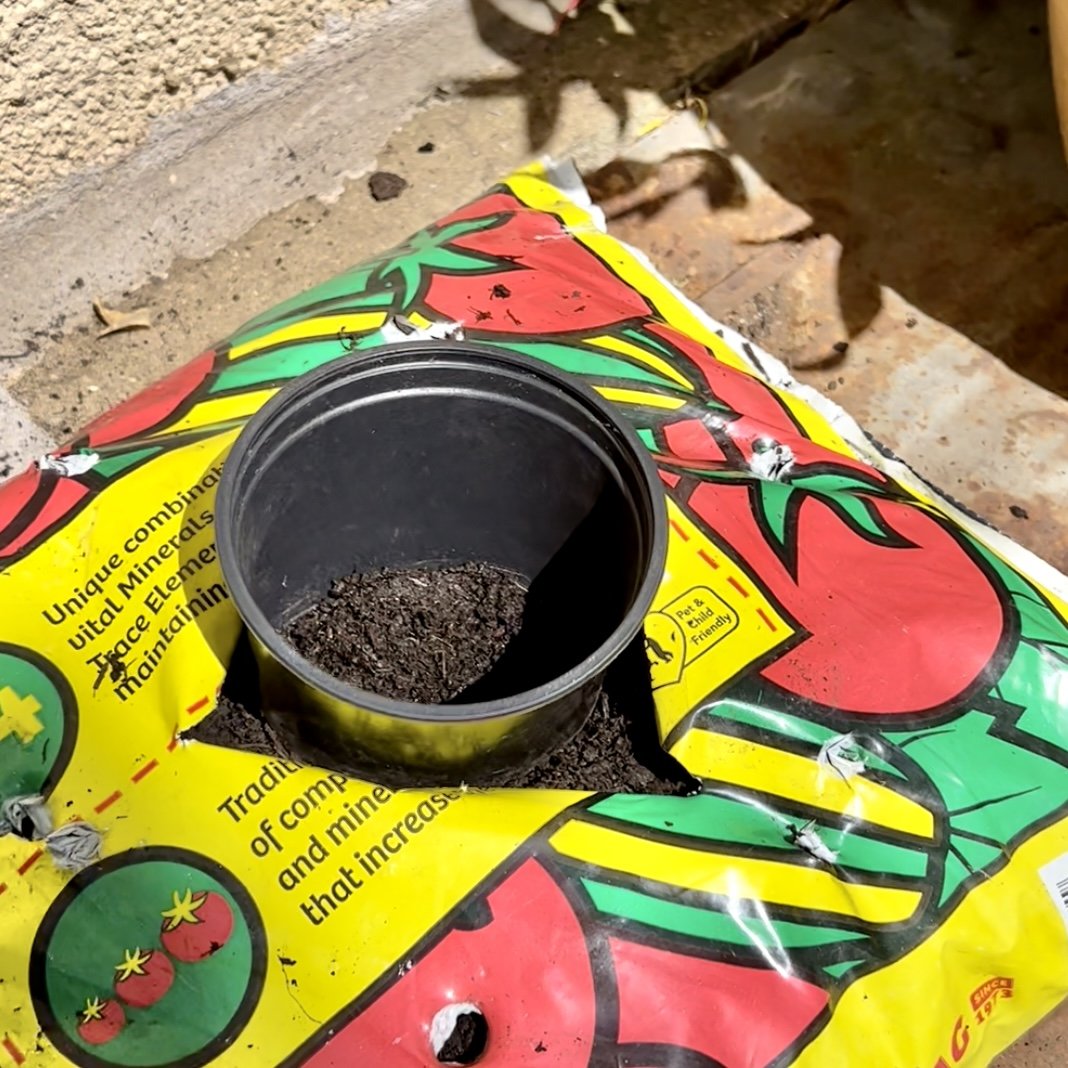
If you don’t have plant halos, then you can use plastic pots with the bottoms cuts off. Bigger ones than I have shown below are better but even a small pot helps and allows you to plant the tomato plants a little more deeply. Tomato plants have the ability to grow more roots along their stems at any point where the stem is buried so if you plant it deeper, it will develop a larger, stronger root system along the stem.
It’s good to pinch out the bottom leaves of your tomato plants which helps protect against diseases being splashed up from the soil.
Gently squeeze your plant pot to help release the tomato plant and put it in the halo or pot on your grow bag. Holding the plant in place, fill the pot or inner ring of the halo with compost burying the part of the stem that you have just cleared and then gently firm the compost down.
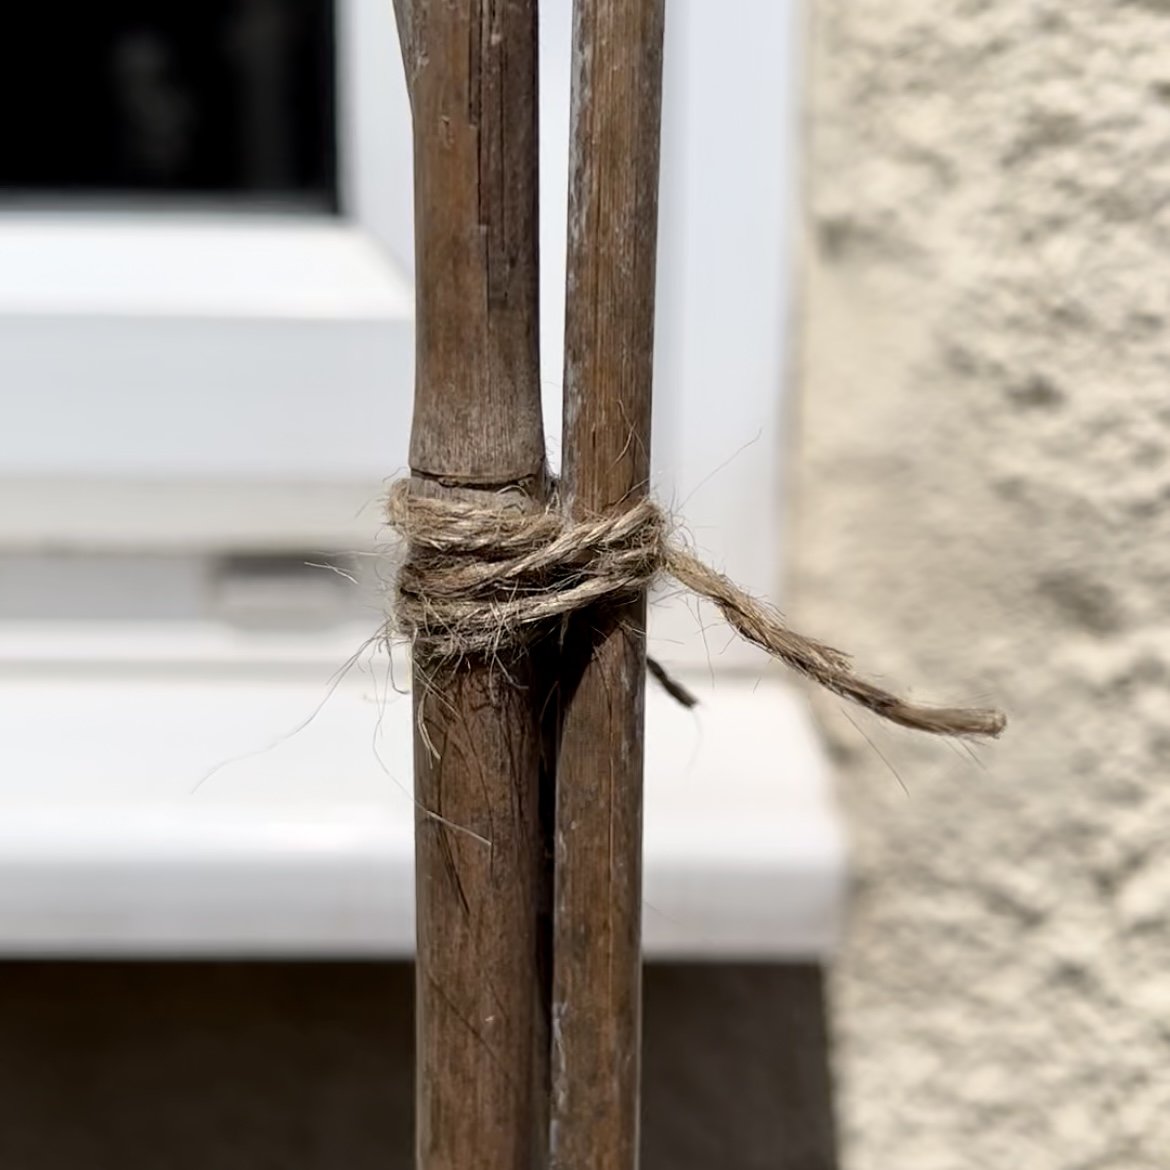
Unless you have a bush variety of tomato plant, then your plants will grow quite tall so it’s a good idea to add some bamboo canes (or long sticks) for support. The plant halo has 3 slots to put canes which should be pushed into the grow bag and then tied together at the top.
If using a plastic pot with the bottom cut off then you can insert the canes inside the edge of the pot if it’s big enough or, if not, you could just use one cane pushed into the soil behind each plant.
As your tomato plants grow taller, tie the stem loosely to the canes with twine.
Water your plants well to settle the soil. One of the benefits of using a plant halo or pot is that when you water the plant, water doesn’t run off the surface of the compost or flood the grow bag.
If using a plant halo, water only the inner pot for the first two weeks and once the plants become established and start to grow, then water into the outer ring where the holes are and the water will seep directly to the roots. The other great thing about plant halos is that, if you go away for a few days, you can fill the reservoir with water right to the top and it will then take a couple of days for the water to seep into the grow bag so you don’t have to worry about your plants drying out!
To encourage root growth, Make sure you water regularly and, once flowers appear, feed weekly with a fertiliser to increase your crop.
Enjoy your tomatoes!
Author: Denise Hope, home educating mum of two


