Pressed flower pinch pots
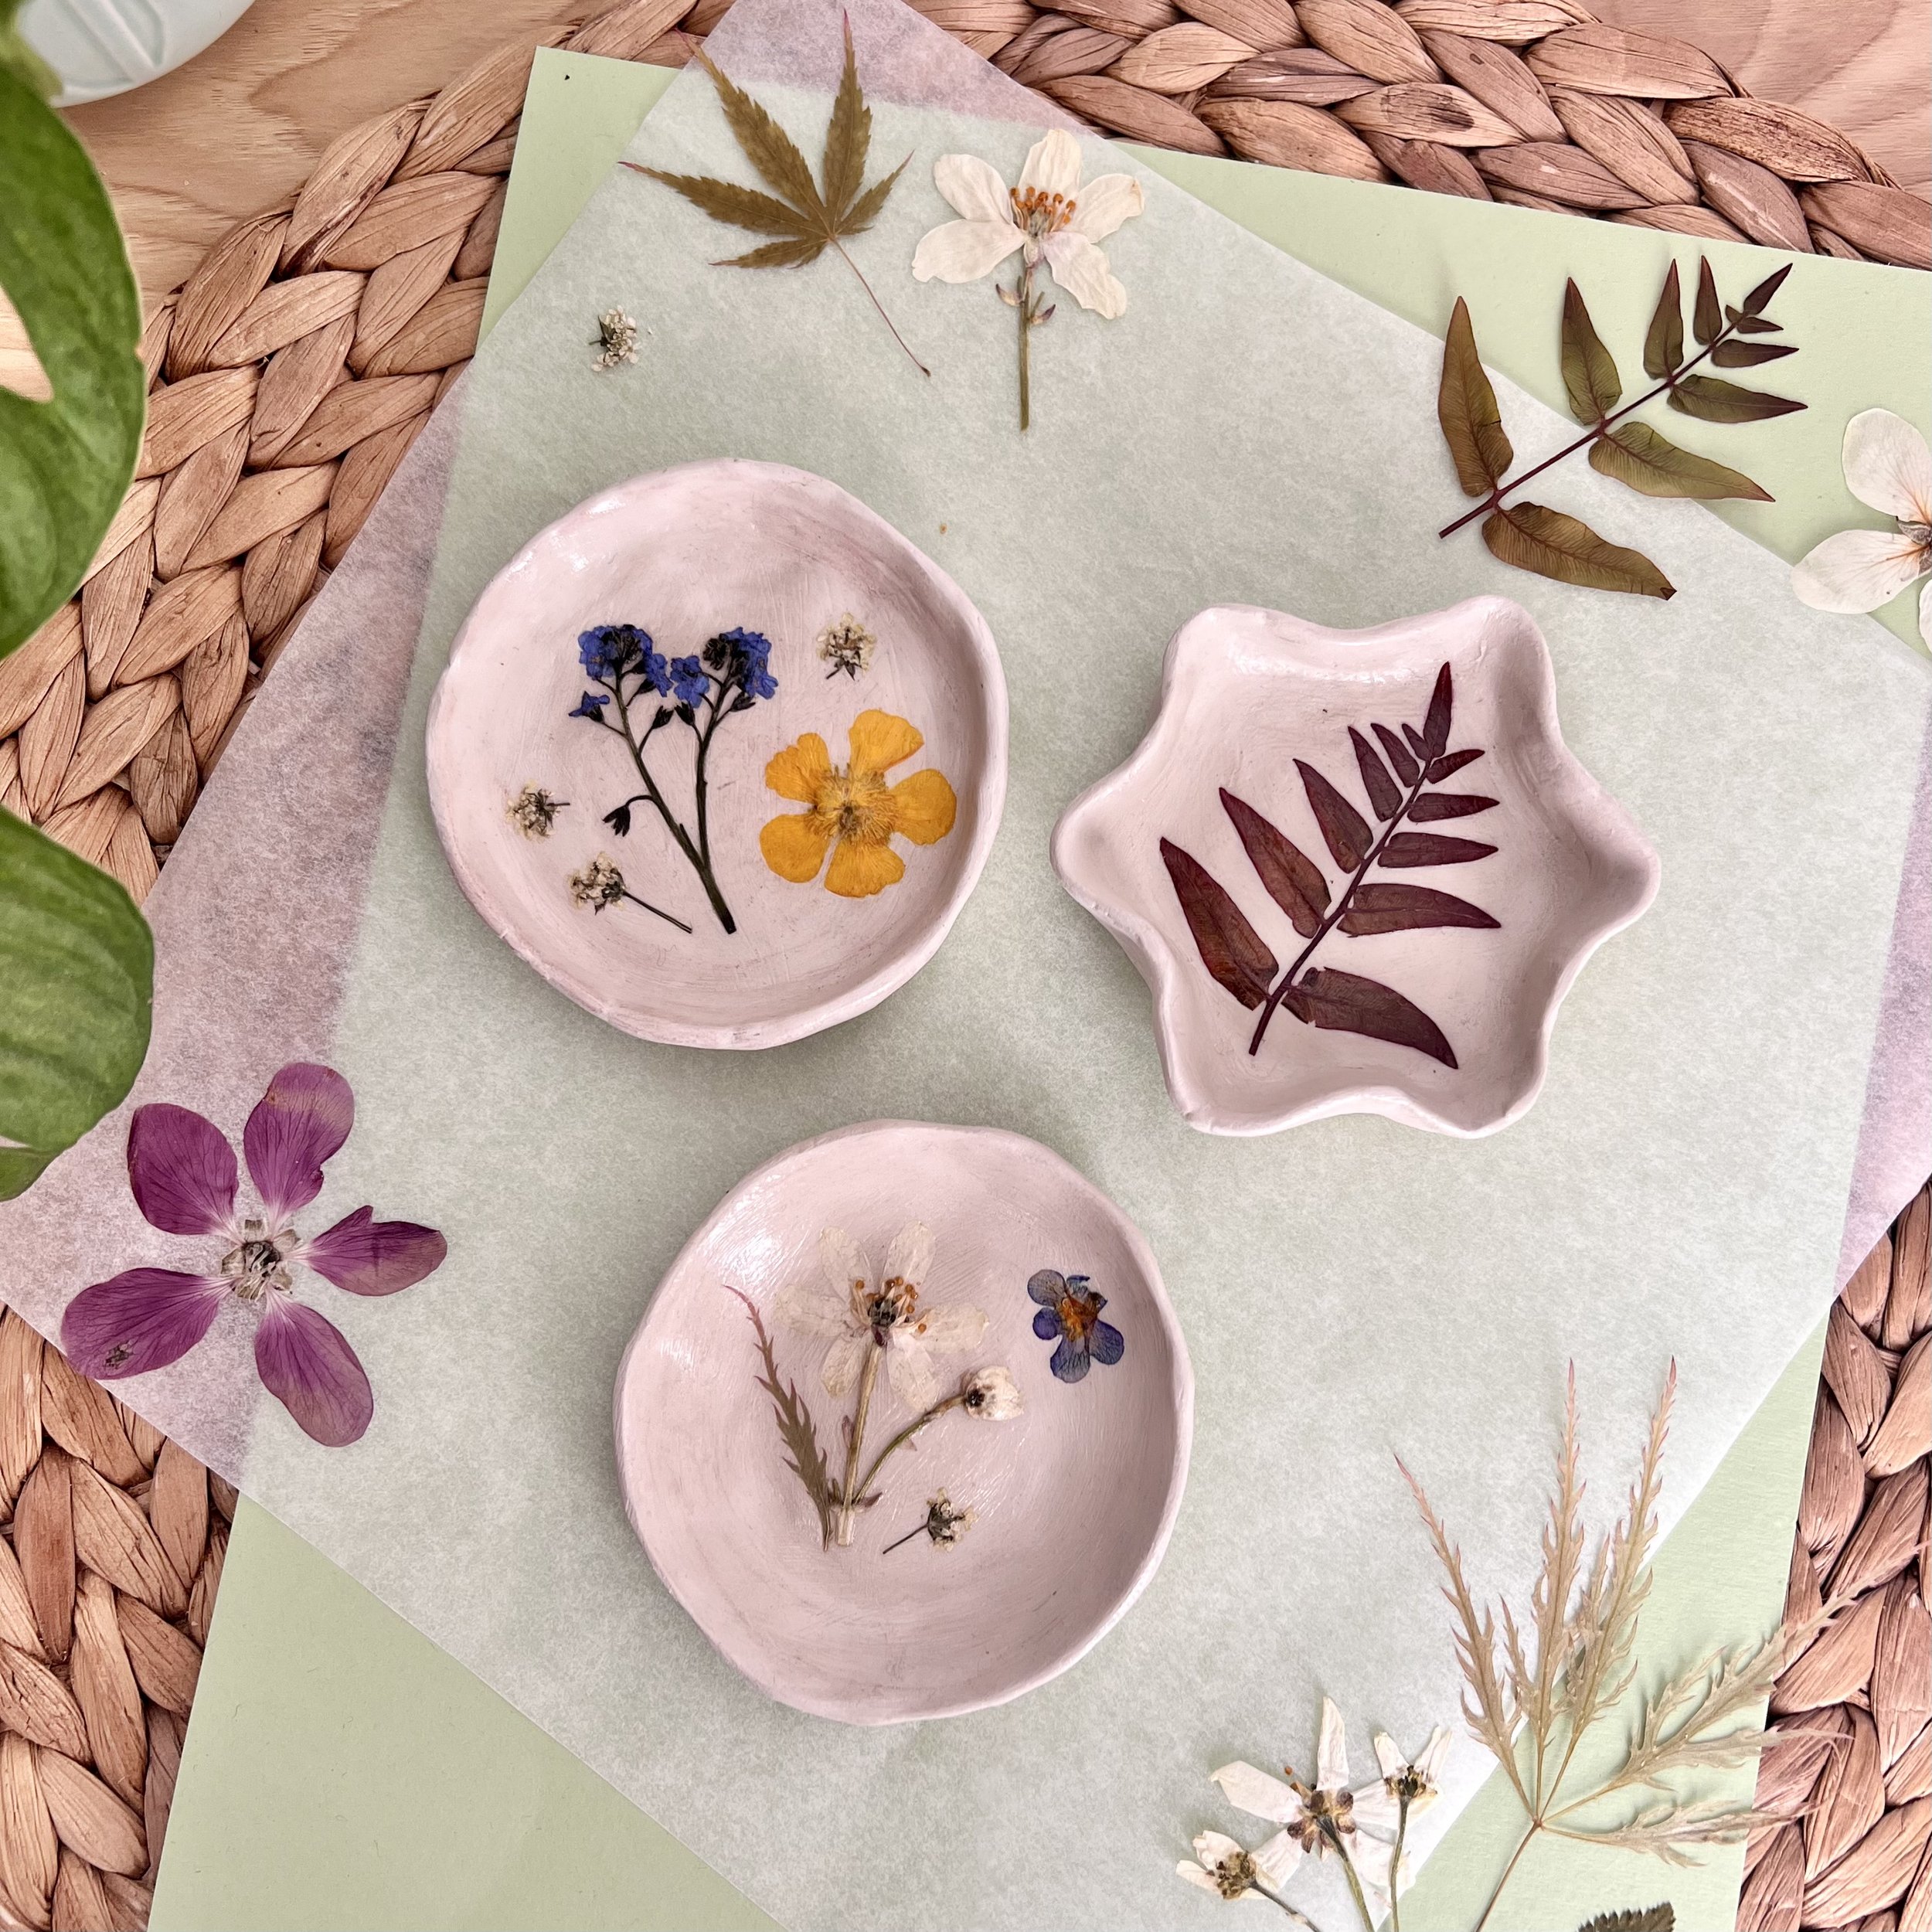
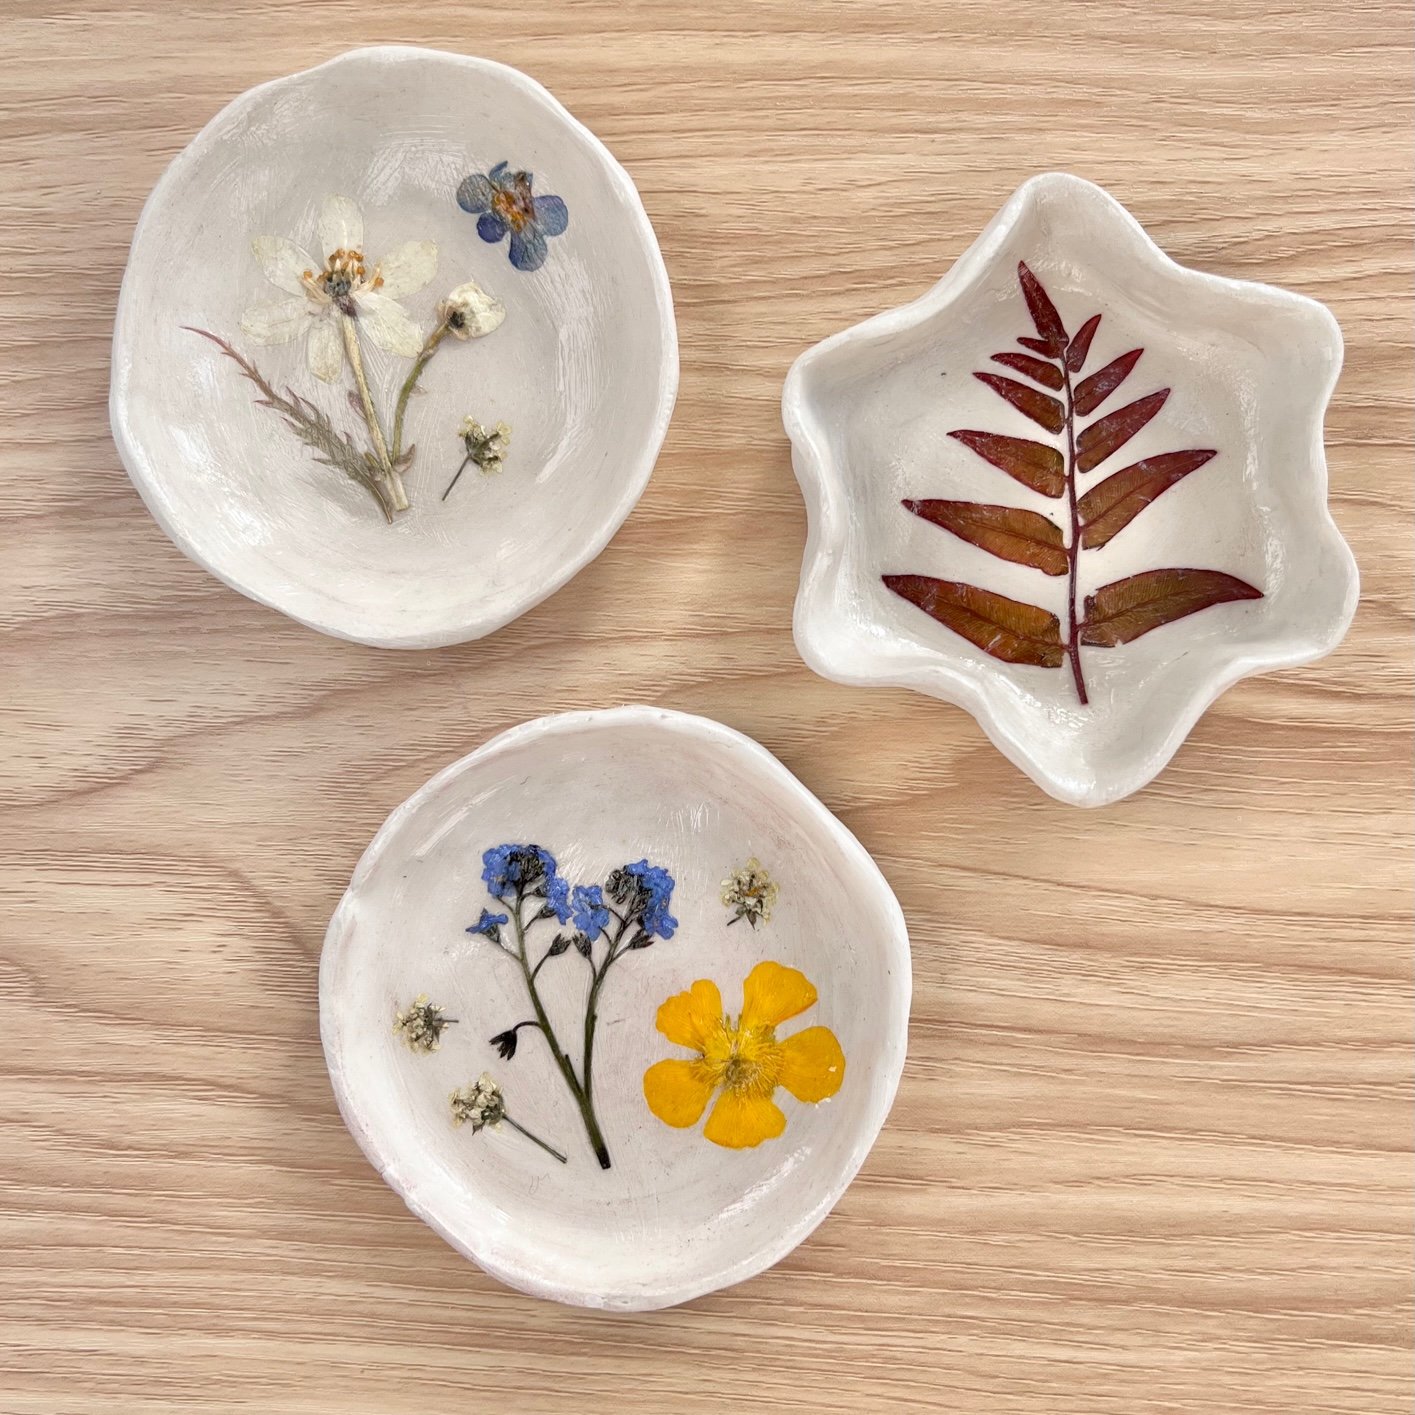
These beautiful little pinch pots are so easy to make and are great to store your treasures in!
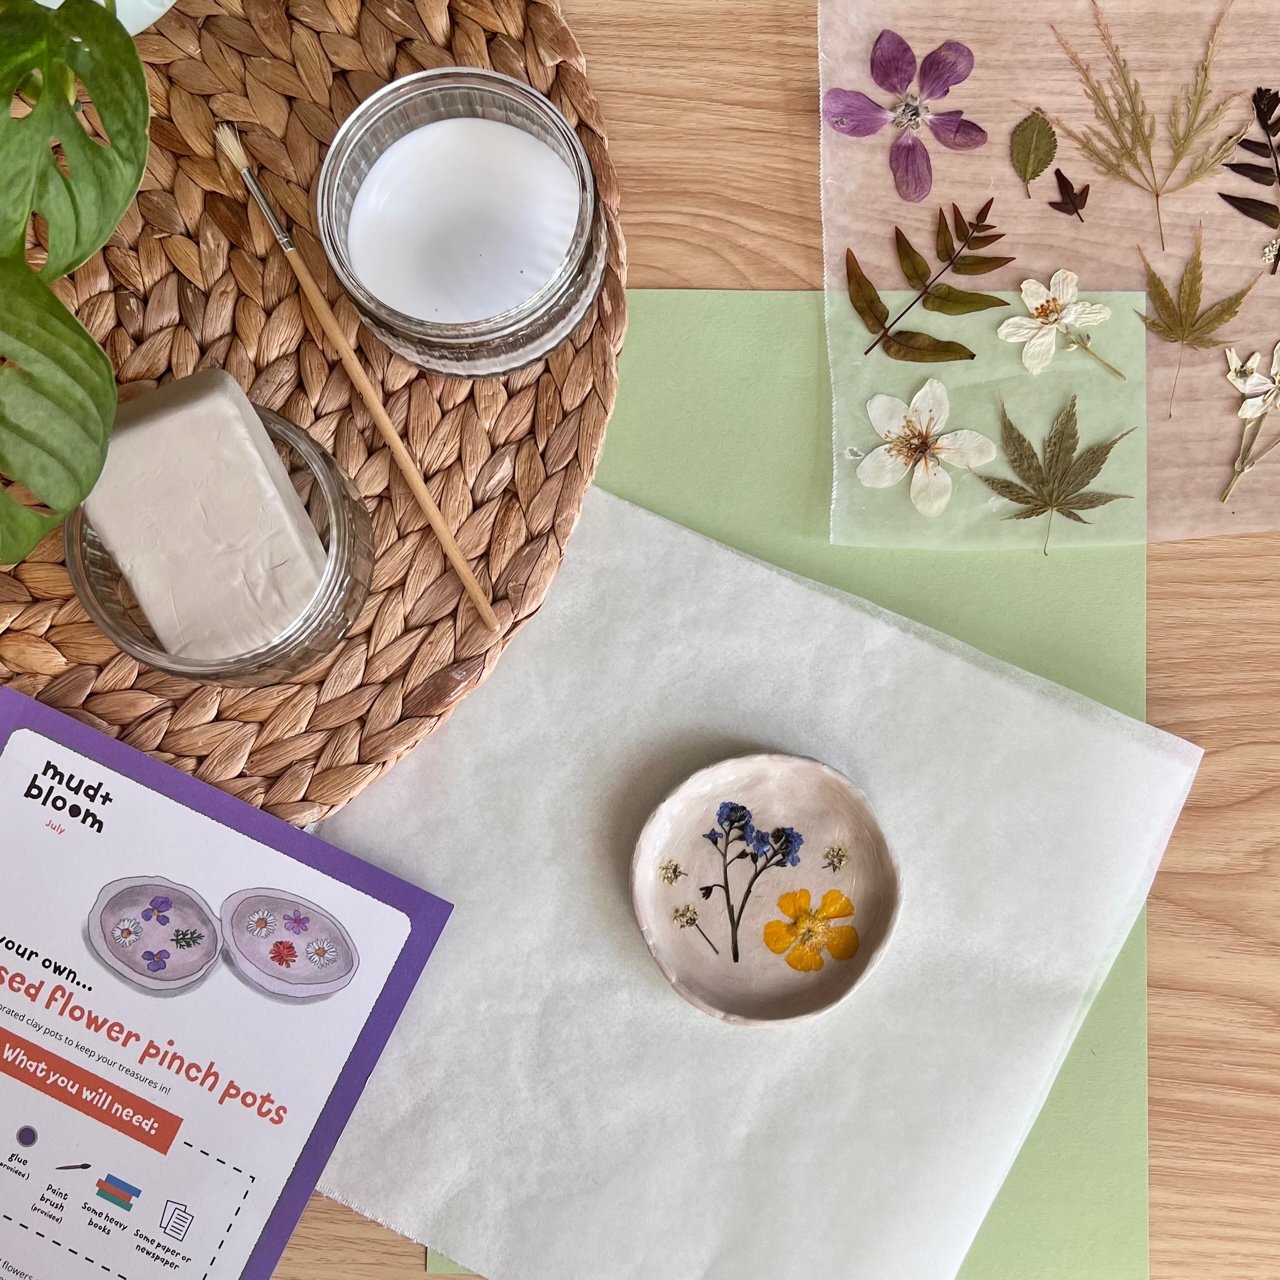
What you will need:
Natural air dry clay
Pressed flowers, petals or leaves (See how we pressed flowers and leaves when we made suncatchers)
Glue
Paint brush
What you need to do:
First you need to gather a few small flowers or leaves and press them. You can see how we did this previously when we made pressed flower suncatchers. You can either use some heavy books to press them or, if you’re short on time, you can press them in a microwave.
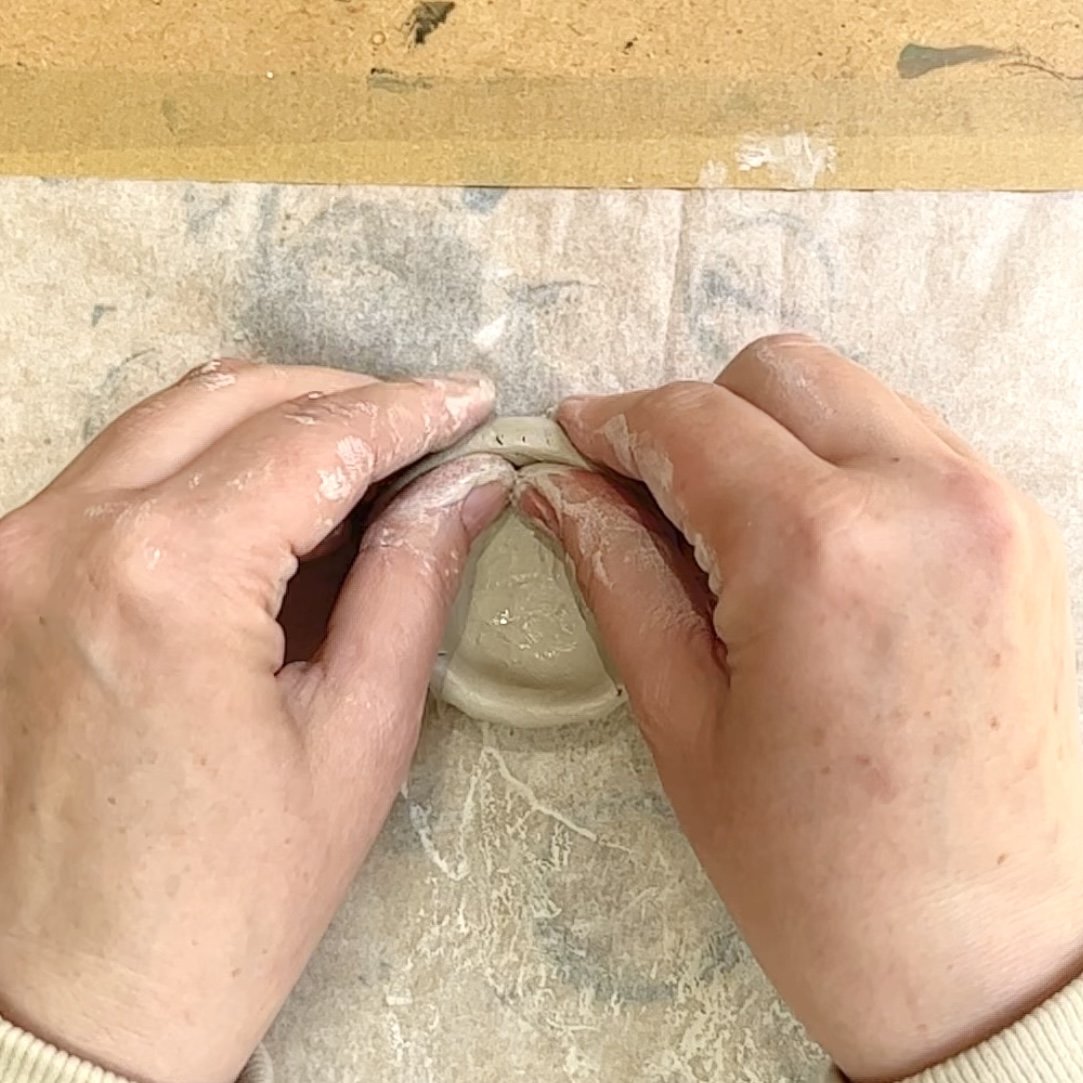
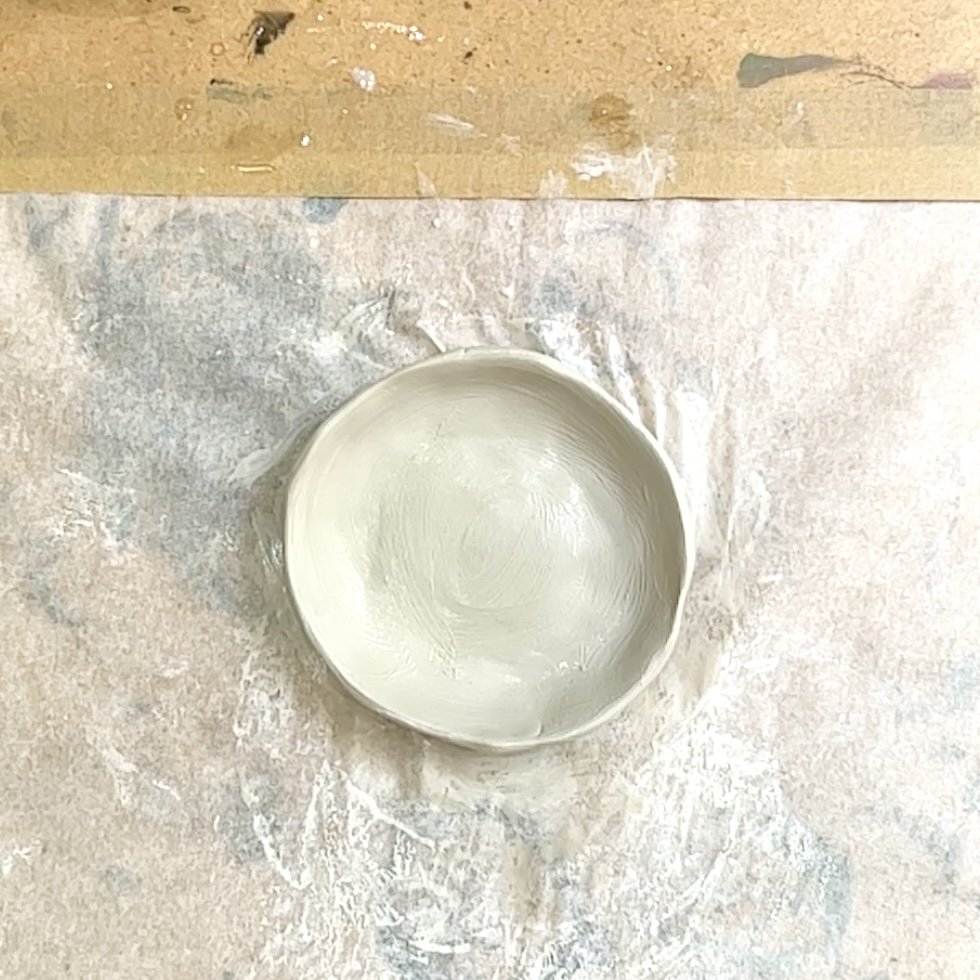
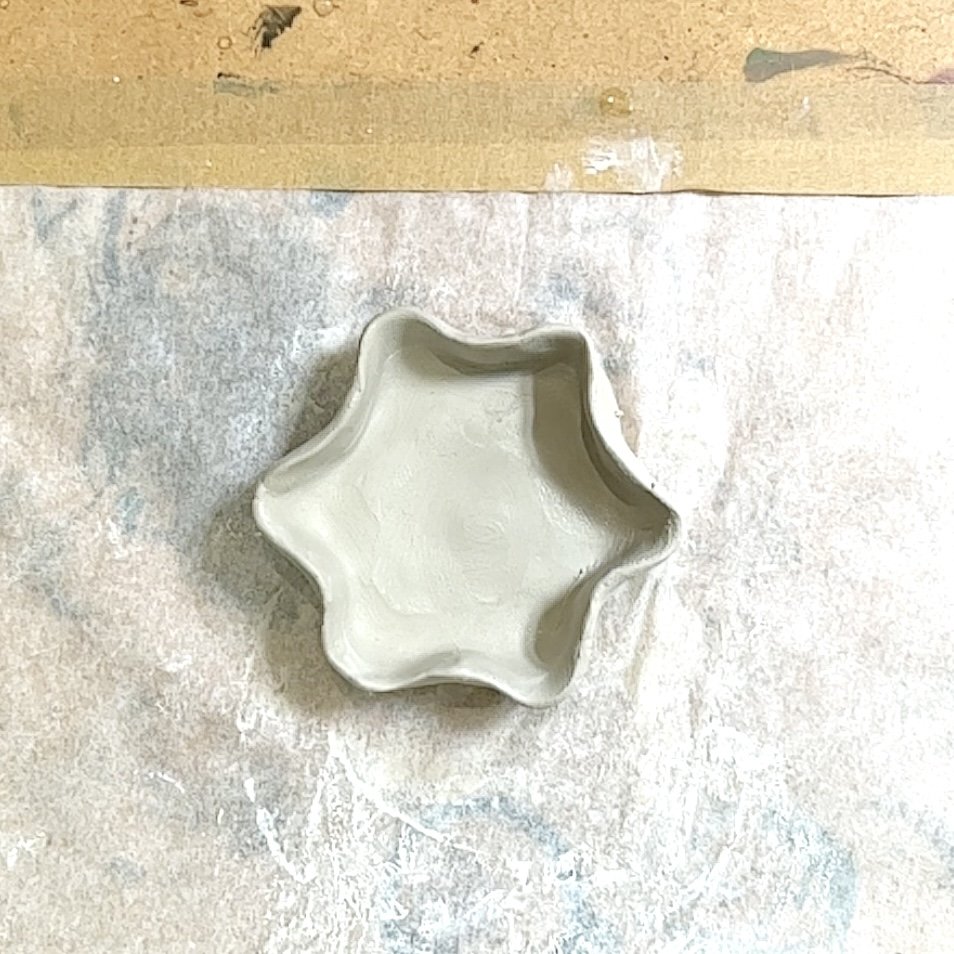
Take a small amount of air dry clay and roll it into a ball shape, using the palms of your hands. Stick both of your thumbs down the middle of your clay but not completely through it. Next, slowly move your thumbs outwards, pushing the clay back to form a pot or little dish.
You might choose to make it bigger with thinner edges or smaller with thicker edges. You can also make your dish a different shape – it’s up to you! Just remember to smooth out any cracks or bumps in the clay so it will dry nicely. Little cracks can get larger when clay dries.
When you have finished making your pots, put them in a dry room in your home and leave them until they are dry. This should only take a day or two. Alternatively, you can put them on a lined baking tray in a cold oven and then turn your oven on to 50 degrees centigrade and leave for a couple of hours but checking periodically.
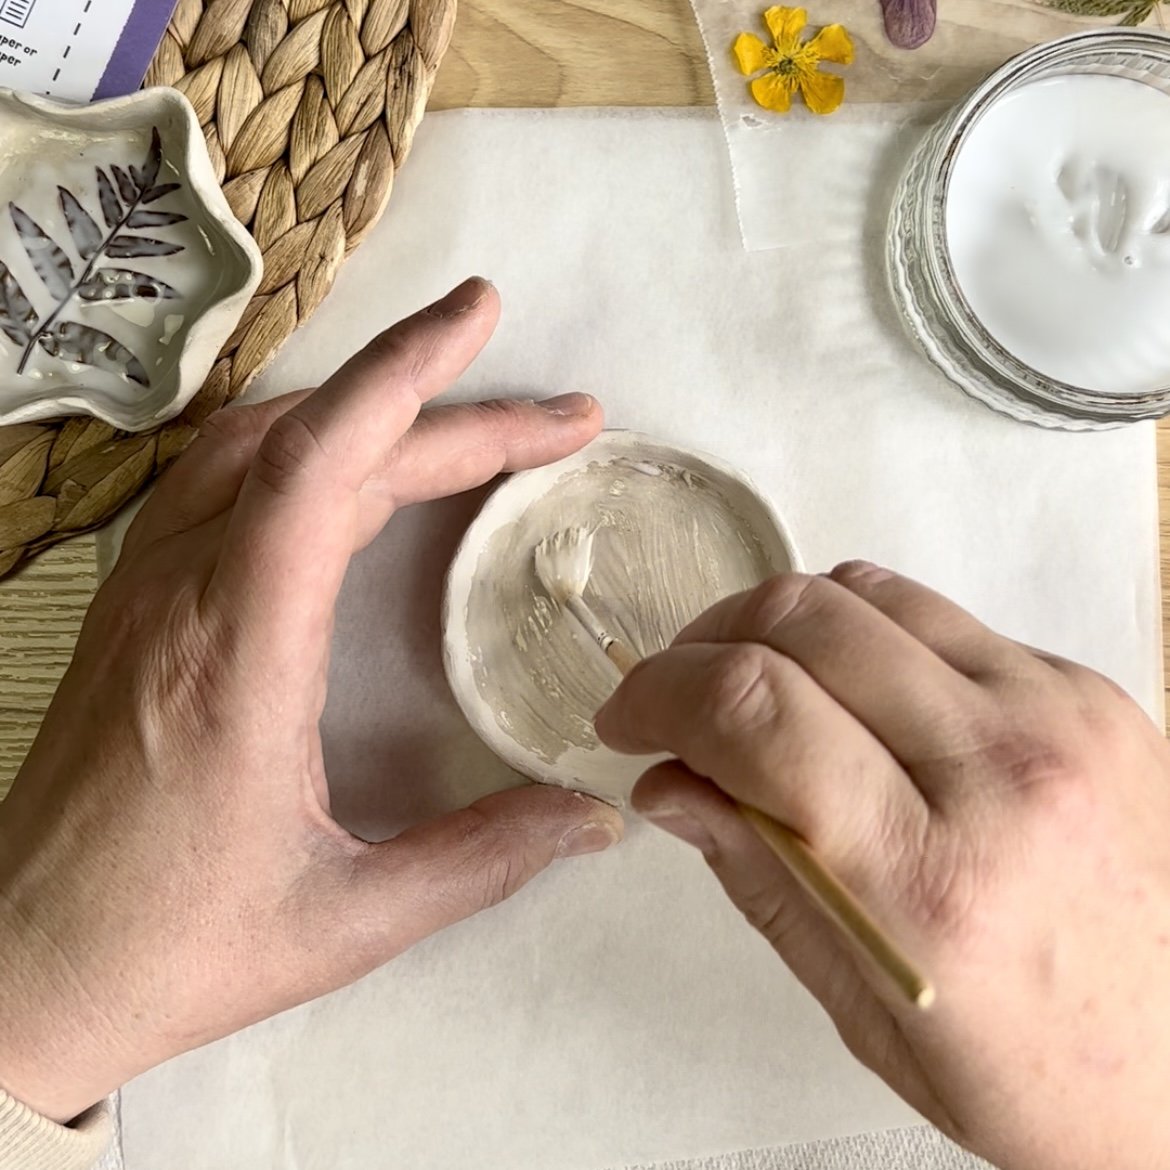
Take your brush and carefully spread some of your glue over the whole of the inside of your pot. Then, take your pressed flowers and arrange them in the bottom of your pot, it could be that you can only fit one flower, it will depend on the size of your pot and the size of your flowers. Carefully stick them down onto the glue.
Finally, take some more glue and paint over your flowers. Make quite a thick layer. The glue will look white at first, but don’t worry: once it dries it will be clear. Leave your pots to dry for a few hours. Check that the glue has completely dried before using them.
Enjoy your pressed flower pinch pots!

